Thank you for joining my small corner of the internet.
This is a blog about good food, beauty, friends, photography, and passion. Mostly, you'll find recipes here.. but there's a good chance you mind stumble upon product reviews or beauty tutorials. It's, really, whatever I feel best expresses a mood for the day or what I feel other people might benefit from..
But, I won't bore you with a long introduction. Let's get on to the first recipe!
I stumbled upon this dessert while I was planning a birthday party for my dear friend Kayla. It was her twenty-first birthday, to be specific, and I wanted to do something really special for her. Kayla has a penchant for anything to do with Marie Antoinette and France. So we had a fancy-dress cocktail party with all sorts of French dishes. (I will probably feature several of them as time goes by..)
The dessert that evening was a Chocolate Molten Lava Cake.
Since that day, I have made this dessert about four or five times - it's an easy, quick dessert for entertaining friends. It provides lots of that "wow" factor with minimal effort. (And it's an easy way to get people together.)
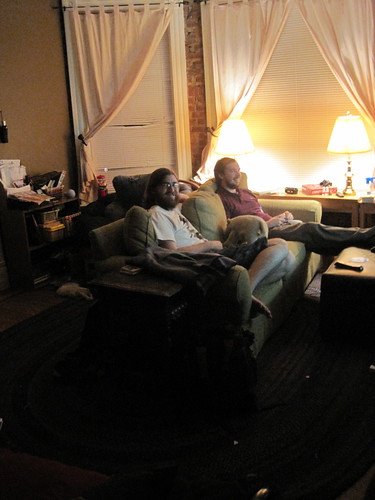
This particular time I made it, my husband (Matt), my friend (Tk), and my other friend (Katie) were my very willing victims.
The funny thing about individual ramekins (and small chocolate cakes) is just how much more welcoming they seem. I think people really appreciate feeling that they were thought of in some way when things are being made. That, while your hands were busy with measuring cups and mixers, you thought "I will need exactly x-amount of ramekins with x-amount of scoops in each bowl so that everyone has a fair share." I know, at least, I always feel really special when something is made personal in small amounts.
There's nothing quite like a cool apartment full of friends with the smell of chocolate in the air.
Next time I make it, I'll be sure to post some pictures of the final product. But, in the meantime, here is the recipe.
I hope you enjoy it; I can almost guarantee it'll bring a smile to your guests' faces.
Recipe Ahead!
Chocolate Molten Lava Cakes
Adapted from Moelleux au chocolat, via Easy French Food (2008-2010)
The original recipe is excellent and probably a bit more traditional (if such a thing can be considered traditional) than my own variation. But I've made some changes that better suit my on tastes. The great thing about food is that you can and should change things to make them fit your needs. So take everything with a (sometimes literal) grain of salt.. figure out what works best for you! :)
You will need...
6 small ramekins
a double boiler (or glass bowl and a deep saucepan)
water
a pastry brush
+
4 oz. dark, sweet cooking chocolate
4 oz. good-quality milk chocolate
8 oz. butter, plus a little extra (about 1 tbsp) to brush the ramekins
6 eggs (room temperature is best)
1-1/4 cups sugar
1 cup all-purpose flour
Place the dark chocolate, milk chocolate, and butter in the top of a double boiler (or a glass bowl over top of a deep saucepan) and melt over simmering water. Stir until smooth (make sure to keep the bottom of the double boiler/bowl moving to keep the chocolate from burning). After everything is blended (and your kitchen smells fantastic and chocolatey), set chocolate/butter mixture aside to cool.
Using a pastry brush, thoroughly coat the insides of (six) small baking dishes with remaining melted butter (about 1 tbsp).
Beat the eggs with sugar until it is lightly colored and airy (about 1.5 - 2 minutes). Add chocolate and butter mixture to the butter and sugar and beat together. Then add the flour (in small portions) until it's all well-blended.
Pour batter into the serving dishes (I like to take a 1/4 cup and measure out the amount into each dish - I find it easier than pouring if you're using a bowl without some sort of spout) and bake for 12+ minutes at 350°F. How long you bake it will depend on how much of a crust you like to have around the outside and, honestly, what the weather is like in your area. Sometimes it cooks 12 minutes.. One time I cooked it for 22 minutes with the same results! Do what works for you. But I would start out with 11 to 12 minutes as a starting point. When you remove them from the oven, the cakes should have distinct crusts, but it should still be liquid in the center when the crust is pierced. The amount of time you leave it in the oven will mostly only affect the surrounding crust (apart from the gooey center).
Remove from the oven and allow to cool. Then, run a knife around the outside edge of the cups, then turn out onto individual plates. Although, personally, I prefer to grab an oven mitt and eat it straight from the ramekin. :]
Makes 6 servings.
(These keep well for a couple days, and, if you want to prepare them ahead of time, you can cover them with plastic wrap before baking and keep them in the fridge for a couple hours until you need them.)
Thank you for sharing your life with me, kiddo. You're such a joy to be around. So encouraging and silly.
I'm so lucky to have you in my life. I hope you have an amazingly happy and stress-free birthday.
No comments :
Post a Comment